Mastering AutoCAD Object Snaps, Ortho Mode and Polar Tracking: 3 Key Tools for Precision

In the world of engineering, accuracy and precision are paramount. AutoCAD Object Snaps, Ortho Mode, and Polar Tracking are powerful tools for creating precise and accurate drawings. The Object Snap allows you to latch onto specific points such as endpoints, midpoints and intersection. The Ortho Mode allows you to create horizontal and vertical lines feasibly. Finally, Polar Tracking allows you to create precise angles with ease. Let’s dive into learning each of these tools in depth and how these tools interact with each other.
AutoCAD Object Snaps
What is Object Snap, and what is its purpose?
Object Snap allows you to precisely select specific geometric points on objects without knowing their exact coordinates. The purpose of object snaps is to select the exact point for measurement or modification.
Let’s say you are creating a floor plan and want to add the door block in the center of the north side. Without object snaps, you could only eyeball the center of the north side but not be able to put the door precisely in the center. With the midpoint object snap, you can put the door block in the center of the north side. Object Snap helps in specifying the first point for measurement or modification, ensuring accuracy from the initial point. Object snaps are pretty handy while drawing one-dimensional and two-dimensional objects in AutoCAD.
Different types of Object Snaps
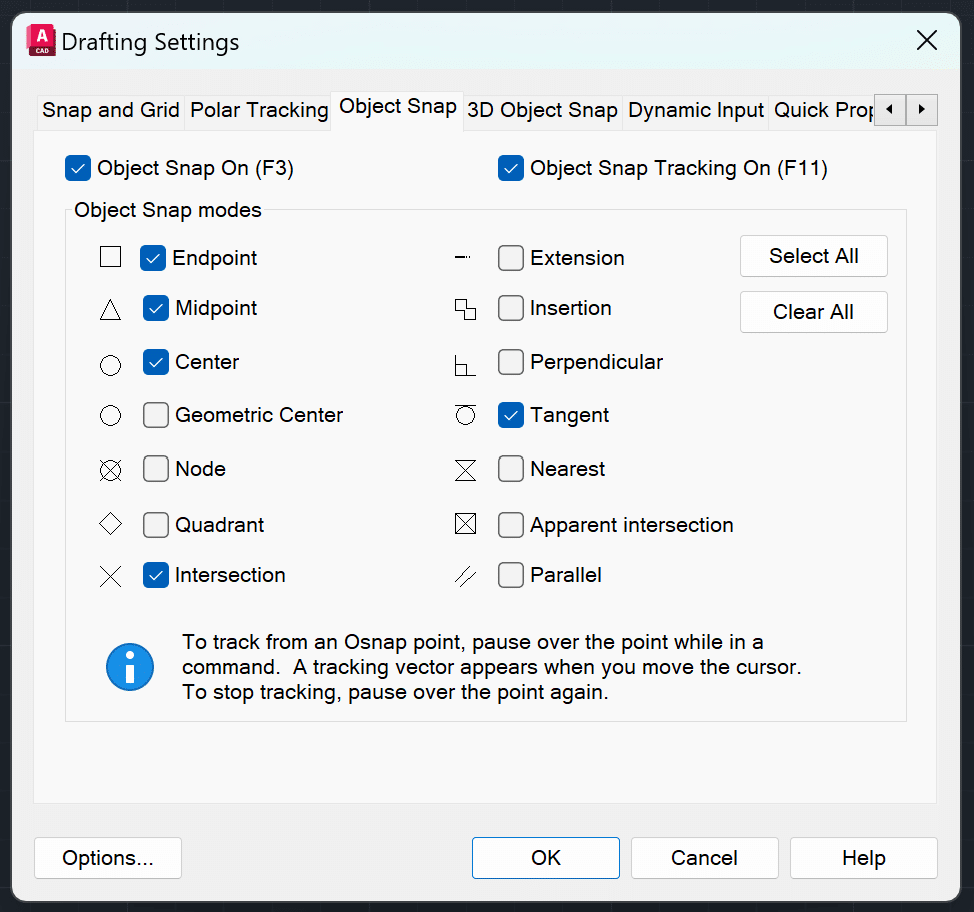
Below is a list of different types of Object Snaps. Check out the GIF to learn more about how to use some of the most commonly used snaps.
- Endpoint
- Midpoint
- Center
- Geometric Center
- Node
- Quadrant
- Intersection
- Extension
- Insertion
- Perpendicular
- Tangent
- Nearest
- Apparent Intersection
- Parallel
How to Enable and Disable Object Snaps?
You can enable or disable Object Snaps by clicking F3 button. You can also click the object snap button on the status bar to turn it on or off. If you click the down arrow next to Object Snap button, you can choose which Object Snaps to keep on or off. Additionally, you can access the Object Tracking Settings through the status bar menu to modify Object Snap settings for enhanced precision.
What is Object Snap Override and its features?
With Object Snap Override, you can temporarily override the current Object Snap settings. It’s useful when you have multiple snaps checked on and want to use only one snap for a specific modification. It is also useful when you want to use a snap that is not currently on. It has additional tools such as Temporary Track Point, From, and Mid Between Two points.
AutoCAD Ortho Mode
What is Ortho Mode, and what is its purpose?
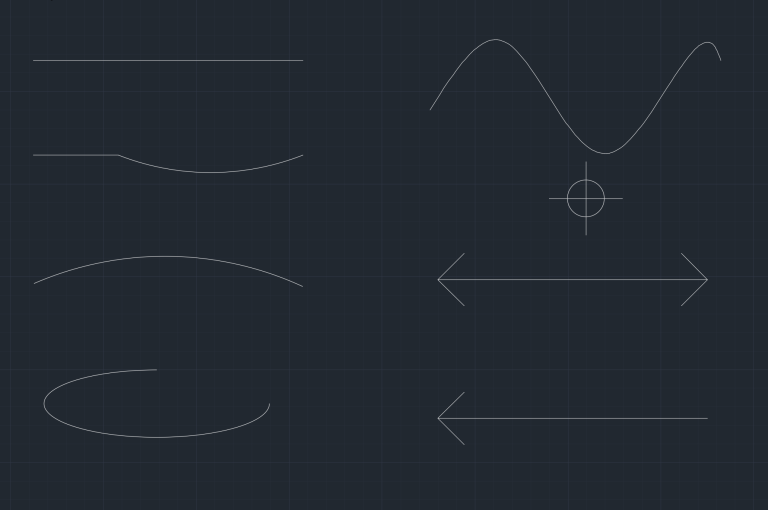
The Ortho Mode restricts the cursor’s movement in the horizontal and vertical directions, enabling you to create straight lines in both directions. For example you can use the line command in conjunction with Ortho Mode to draw precise straight lines efficiently.
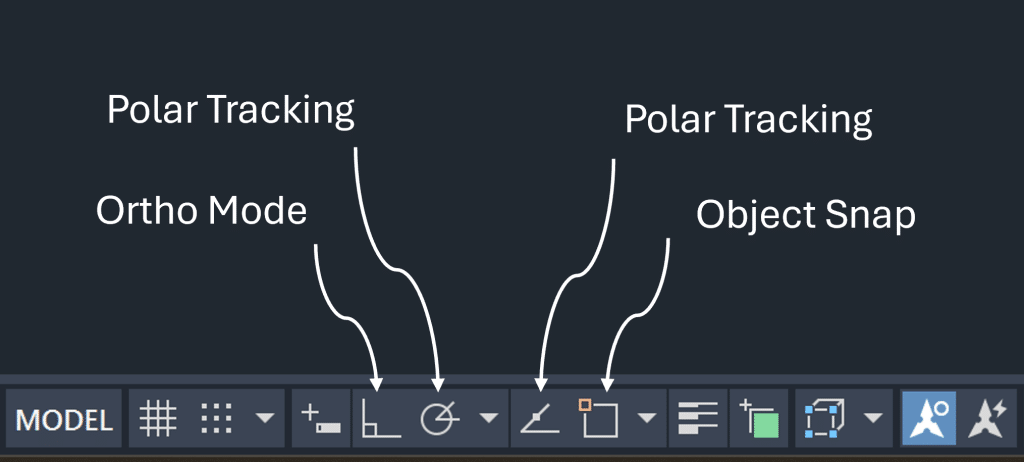
How to Enable and Disable Ortho Mode?
You can enable/disable the Ortho Mode by clicking F8. You can also click the ortho mode button on the status bar to enable or disable it. To temporarily activate the ortho mode, you can hold shift, and you will be able to create straight lines. This goes the other way around too. When the ortho mode is on, you can temporarily disable it by holding shift.
AutoCAD Polar Tracking
What is Polar Tracking, and what is its purpose?
Polar tracking is useful when you want to draw or edit objects at specific angles, such as 30, 45, or 60 degrees, rather than just 90 degrees. Hence, it enhances the capability of ortho mode by adding additional angles. Polar tracking angles can be set to enhance drawing precision, allowing users to snap to predetermined angles automatically.
How to Enable and Disable Polar Tracking?
You can enable or disable polar tracking by clicking the polar tracking button on the status bar. You can also click on the down arrow next to polar tracking to change the Increment Angle List. You can also enable or disable polar tracking by clicking F10.
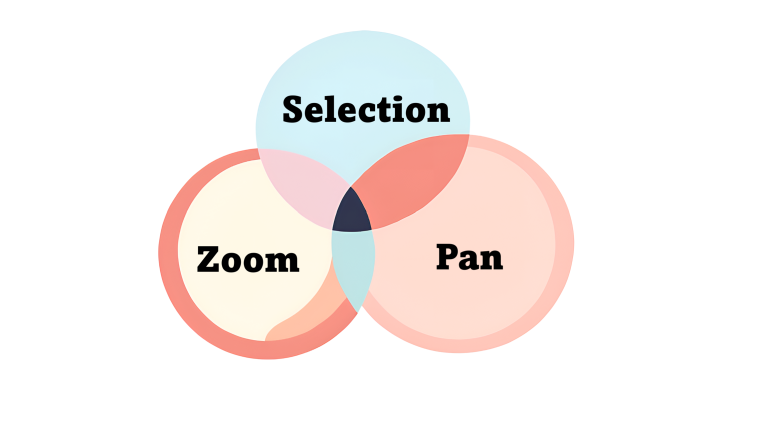
Combining Object Snap, Ortho, and Polar Tracking
First thing to note is that you cannot have both ortho mode and polar tracking mode on at the same time. This makes logical sense since polar tracking is an extended version of ortho mode with more incremental angles than just 90 degrees.
I personally like to keep only the Endpoint and Midpoint snaps on. When I want to use rest of the snaps I would shift right click and select the snap I want to use in that instance. The object snap override also has more options discussed above which I like to use for precision and efficiency.